Molding and casting
As per the requirements, data sheets for different moulding and casting materials were reviewed and each of us tried out with different materials to compare the results at the end.
Preparation
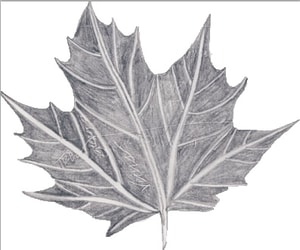
To start with, I wanted to do something small just to test out how fine will it be able to mill and how will the final result look. So, I searched in google images about moulding and casting small examples and I thought of doing a leaf.
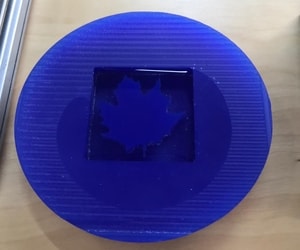
Here is a picture of the leaf.
I imported it in inkscape to trace the outline and adjust the colour maping. To do that, go to Path>Trace Bitmap and a window will appear where you can adjust the settings. Below are the settings I used to give me the desired result.
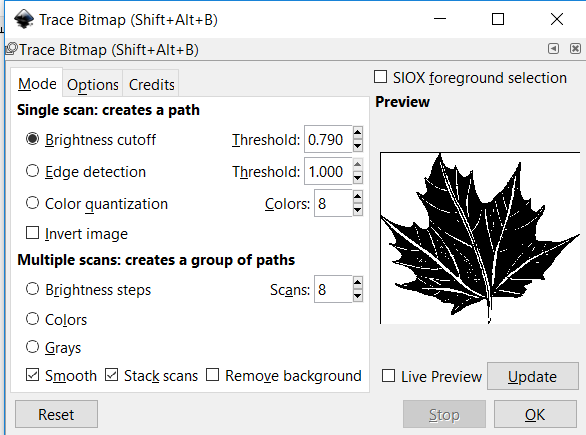
Click here to download the file.
I then used Tinkercad to import the svg file and adjust the size of how I want my final design to be. Below images show the sizes of the design.
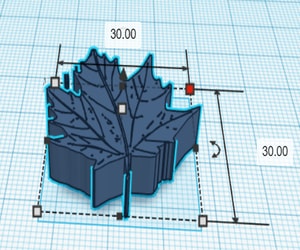
As you can see, the model had a size of 30mm x 30 mm which is obviously a small design.
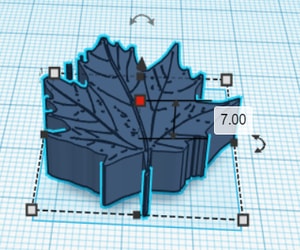
Also, it shows here that I set a height of 7 mm for the model.
The wax piece that I used had a height of 14 mm and a diameter of 85 mm.

Here is a link to the tinkercad file.
Milling
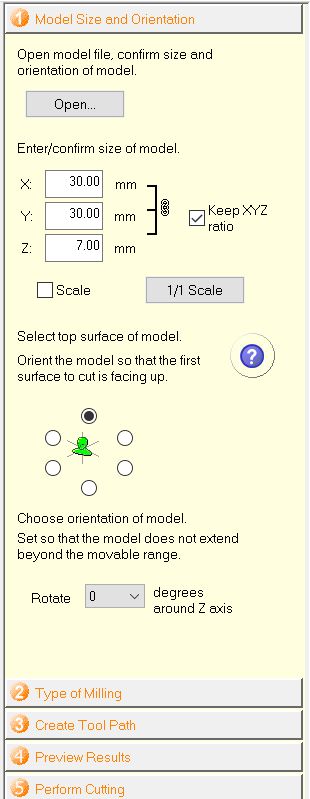
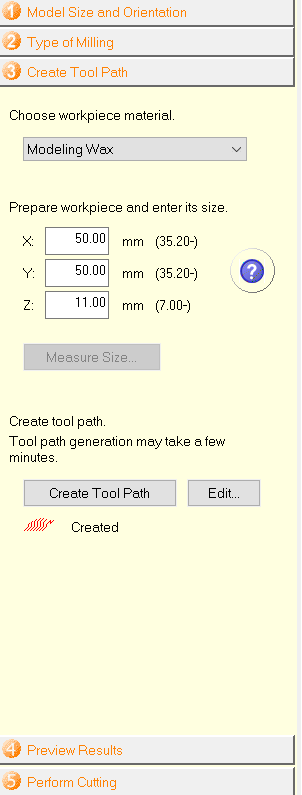
After I have exported the file from tinkercad to stl form, I opened it in the Roland SRP player software in which I will prepare the file for milling. Below are the settings used.
-
I entered my model size here.
-
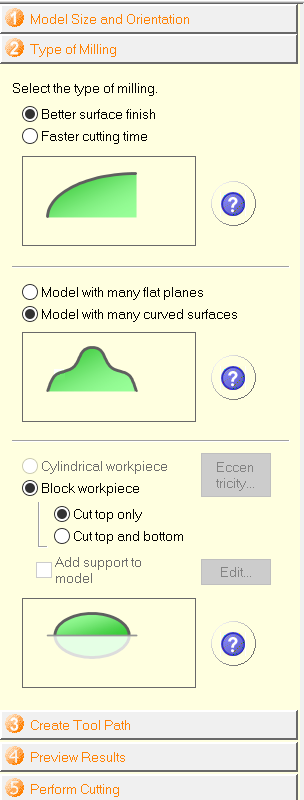
I chose the type of milling.
-
I entered the dimensions of the area of which I wanted my model to cut.
-
The work area dimensions created the boundry around the model. This boundry will be used later to hold the mould. The tool diameter used here is 2 mm.
-
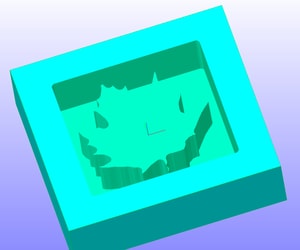
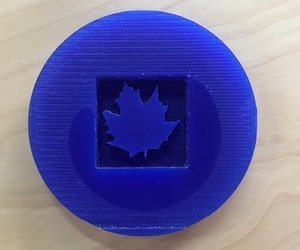
This is the final result after milling. It went under two surfacing process to make a smooth finish. The first was roughing which defines the shape of the mould and then comes finishing to smooth out all the surfaces and edges.
Moulding
VBS26A/B is a pourable and also suitable for pumping 2-part addition cure silicon elastomer system. After mixing parts ‘A’ and ‘B’ in the correct proportions, the system will cure at ambient temperatures within 24 hours, but the rate of cure can be accelerated by heat. The cured rubber exhibits excellent physical and electrical properties. Key Features:
- Low viscosity
- Easy 1:1 mix ratio
- Fast cure
- High tear resistance
- Gel time 8 minutes at 22C
-
Pot Life mins 7 mins
-
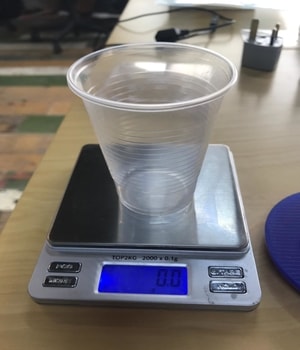
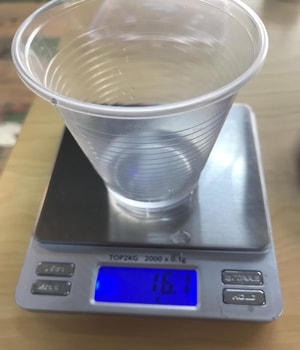
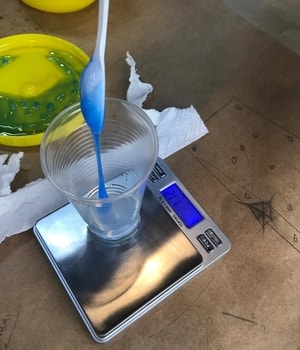
Place an empty container on a balance and tare its weight.
-
Add water into the design.
-
Pour the water into the container to measure how much amount of water the model requires. This will be used as a reference for the amount of silicon needed to create the mould.
-
Empty the container and completely dry the container as well as the design.
-
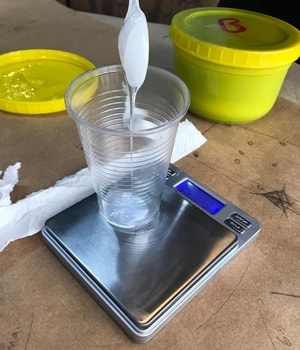
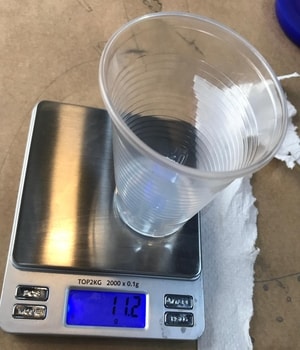
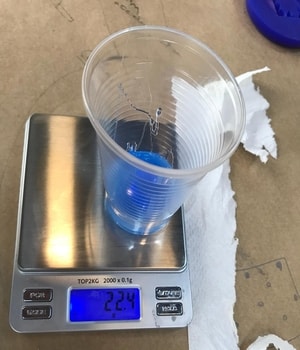
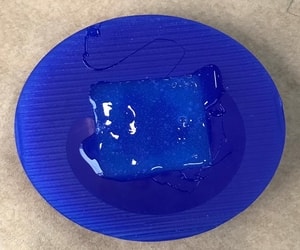
Since we require 16.1g of silicon for moulding, we thought of making it 20g to be on the safe side. There are two types of chemicals that should be added, one is the base and the other is the catalyst, both of which should be added at equal amounts. In this case, we added 11.2g of base (clear) and 11.2g of catalyst (blue) making a total of 22.4g of silicon mould.
-
Mix slowly and gently to prevent bubbles from forming. Bubbles will cause slight detoriation of the mould shape after pouring it into the design. You can also use a vacuum chamber to prevent bubbles from forming.
-
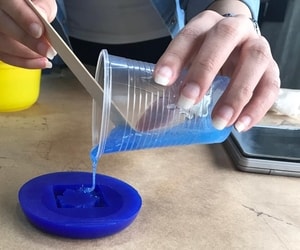
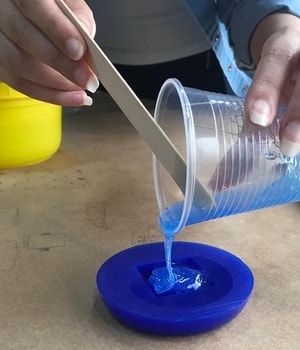
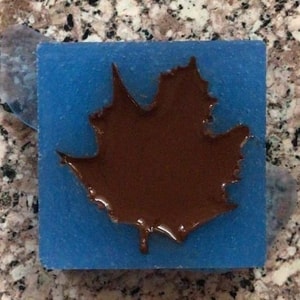
Pour the mixture into the model until it fills the top.
-
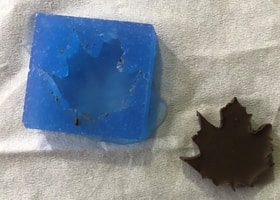
Let it dry completely. When the silicon mould is not sticky anymore, you can remove it and start casting.


It can be shown that the mould contained many bubbles and this is because I didnot mix it in a vacuum chamber since it wasnt available in the lab at that time. However, luckily the shape outline remained sharp and didnot get detoriated. This will ensure that the cast will have the proper shape.
Casting
Ice
I tried mixing red food colouring and water and pouring it into the mould to freeze in order to see how will it look.
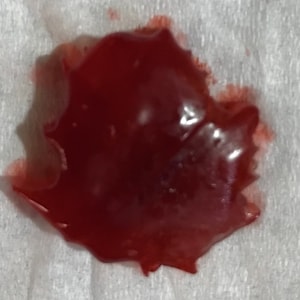
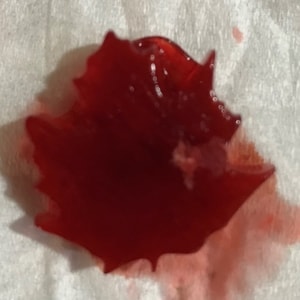
I kept it in the freezer for 12 hours and this was the result. The final result didnot look as clean as I thought it would be. It didnot take the shape of the mould properly, thus, it didnot show sharp edges. It also had a bump at the top which may be due to the fact that water expands when it freezes.
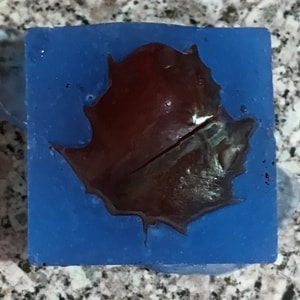
Chocolate
This is definetely an inedible chocolate but I wanted to try out making chocolate designs of my own and see how it would look like.
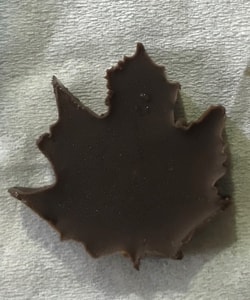
The chocolate turned out looking better than the ice. It can be seen that the edges are completely sharp and is the exact same shape as the mould.
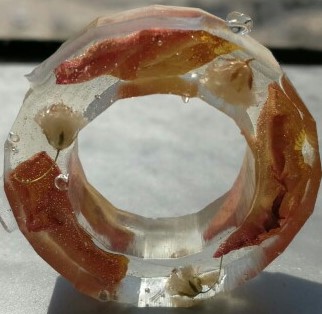
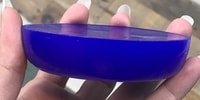
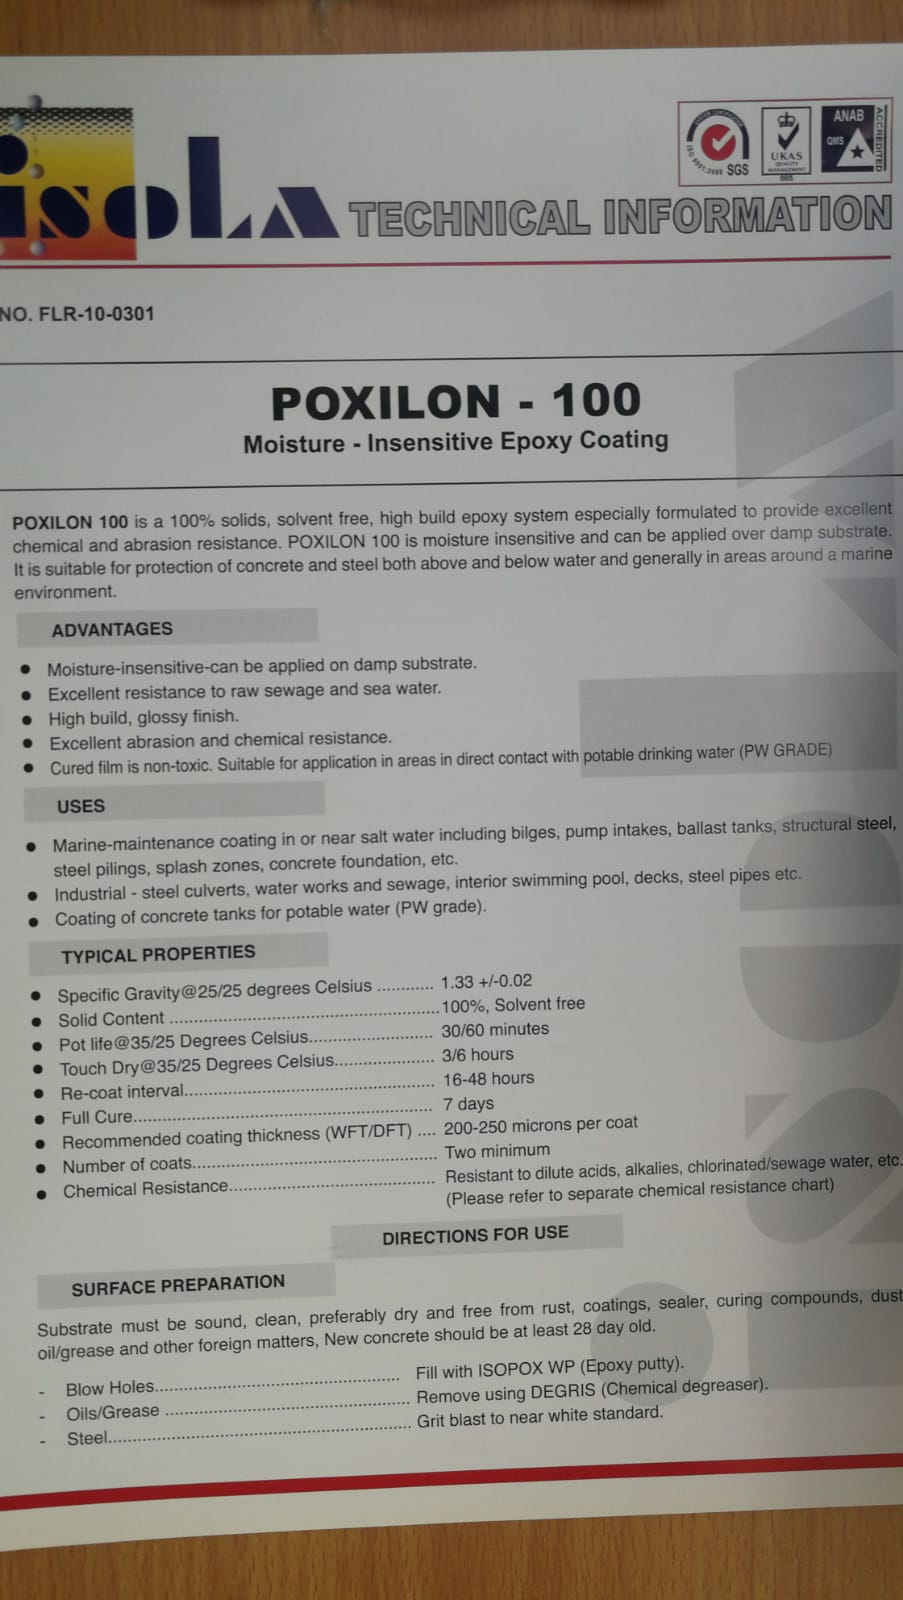
Resin
I used resin to make the ring & this is it’s datasheet.
-
Pot life at 35/25 C: 30/60 minutes
-
Touch Dry at 35/25 C: 3/6 hours
-
Re-coat interval: 16-48 hours
-
Full Cure: 7 days
-
Number of coats: 2 minimum
Health & saftety precautions:
It might cause skin irritation. Users advised towear protective overalls, eye goggles & rubber gloves. If it spilled on skin, wash it immediately with water & soap.
To make the resin, we needed to mix 30% of the hardener and 70% of the material. Measured the amount measuring the weight of each material. This was the final result.