Computer controlled cutting
This week’s group assignment is to characterize the lasercutter’s focus, power, speed, rate, kerf, and joint clearance
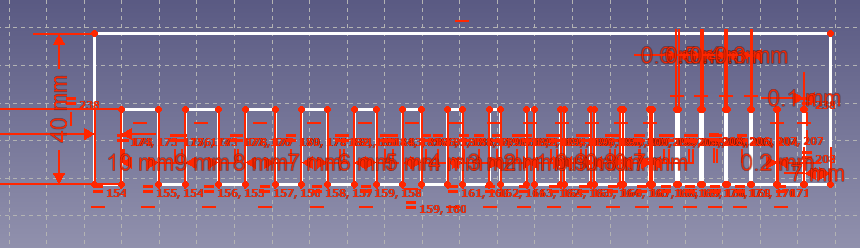
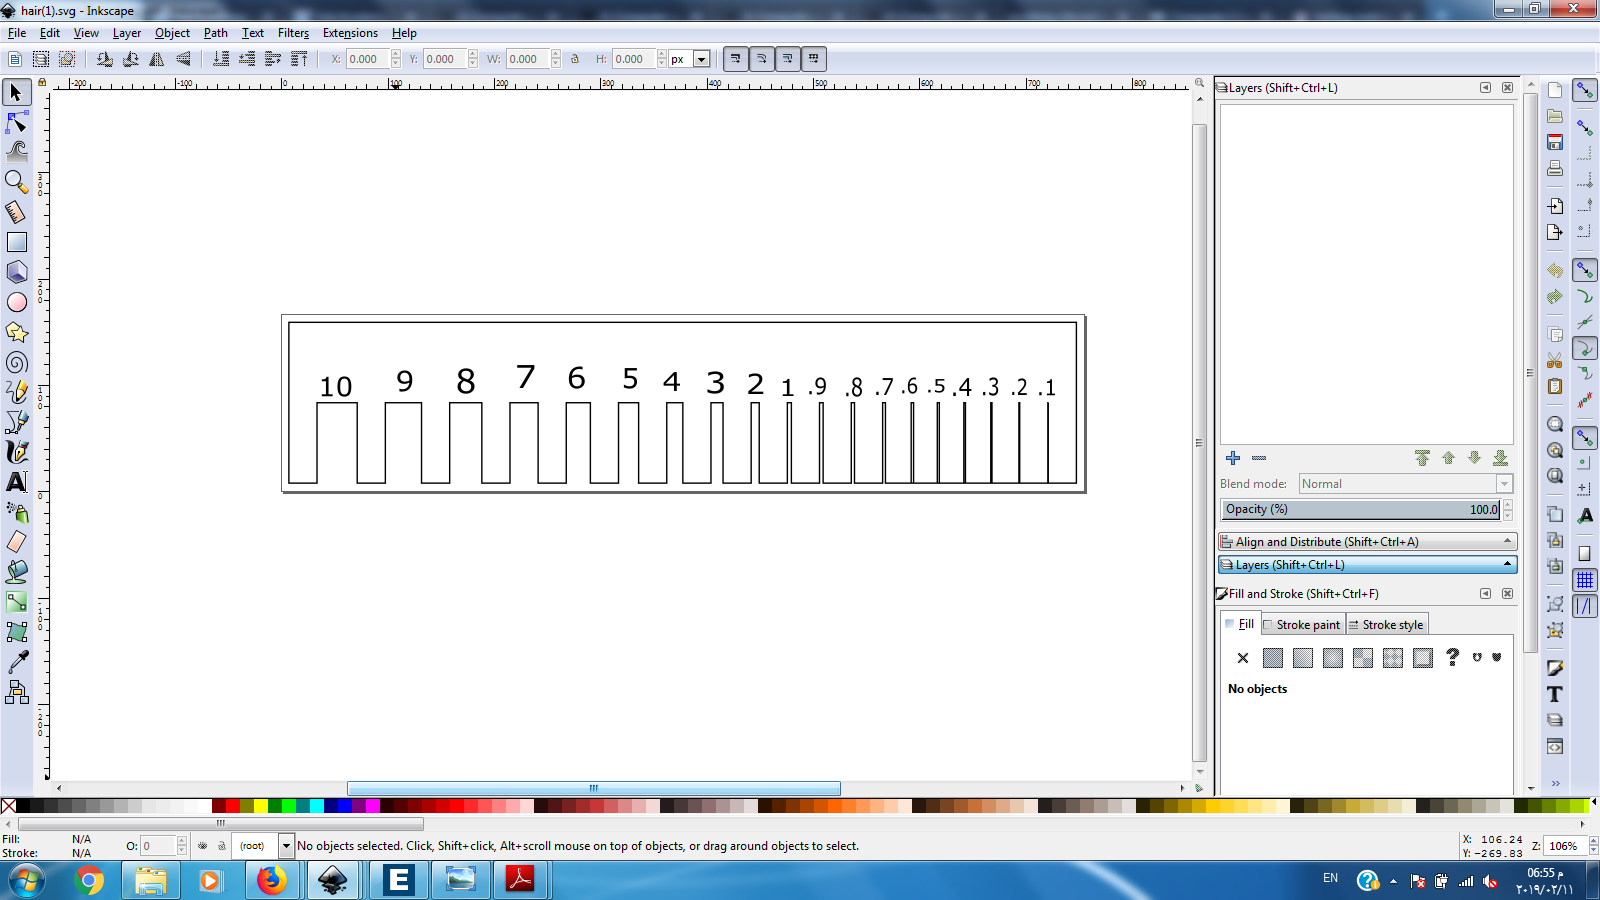
First we had to run some tests so we designed a comb to see how accurate is our laser cutter and based on that we can adjust our designs to get the best results.
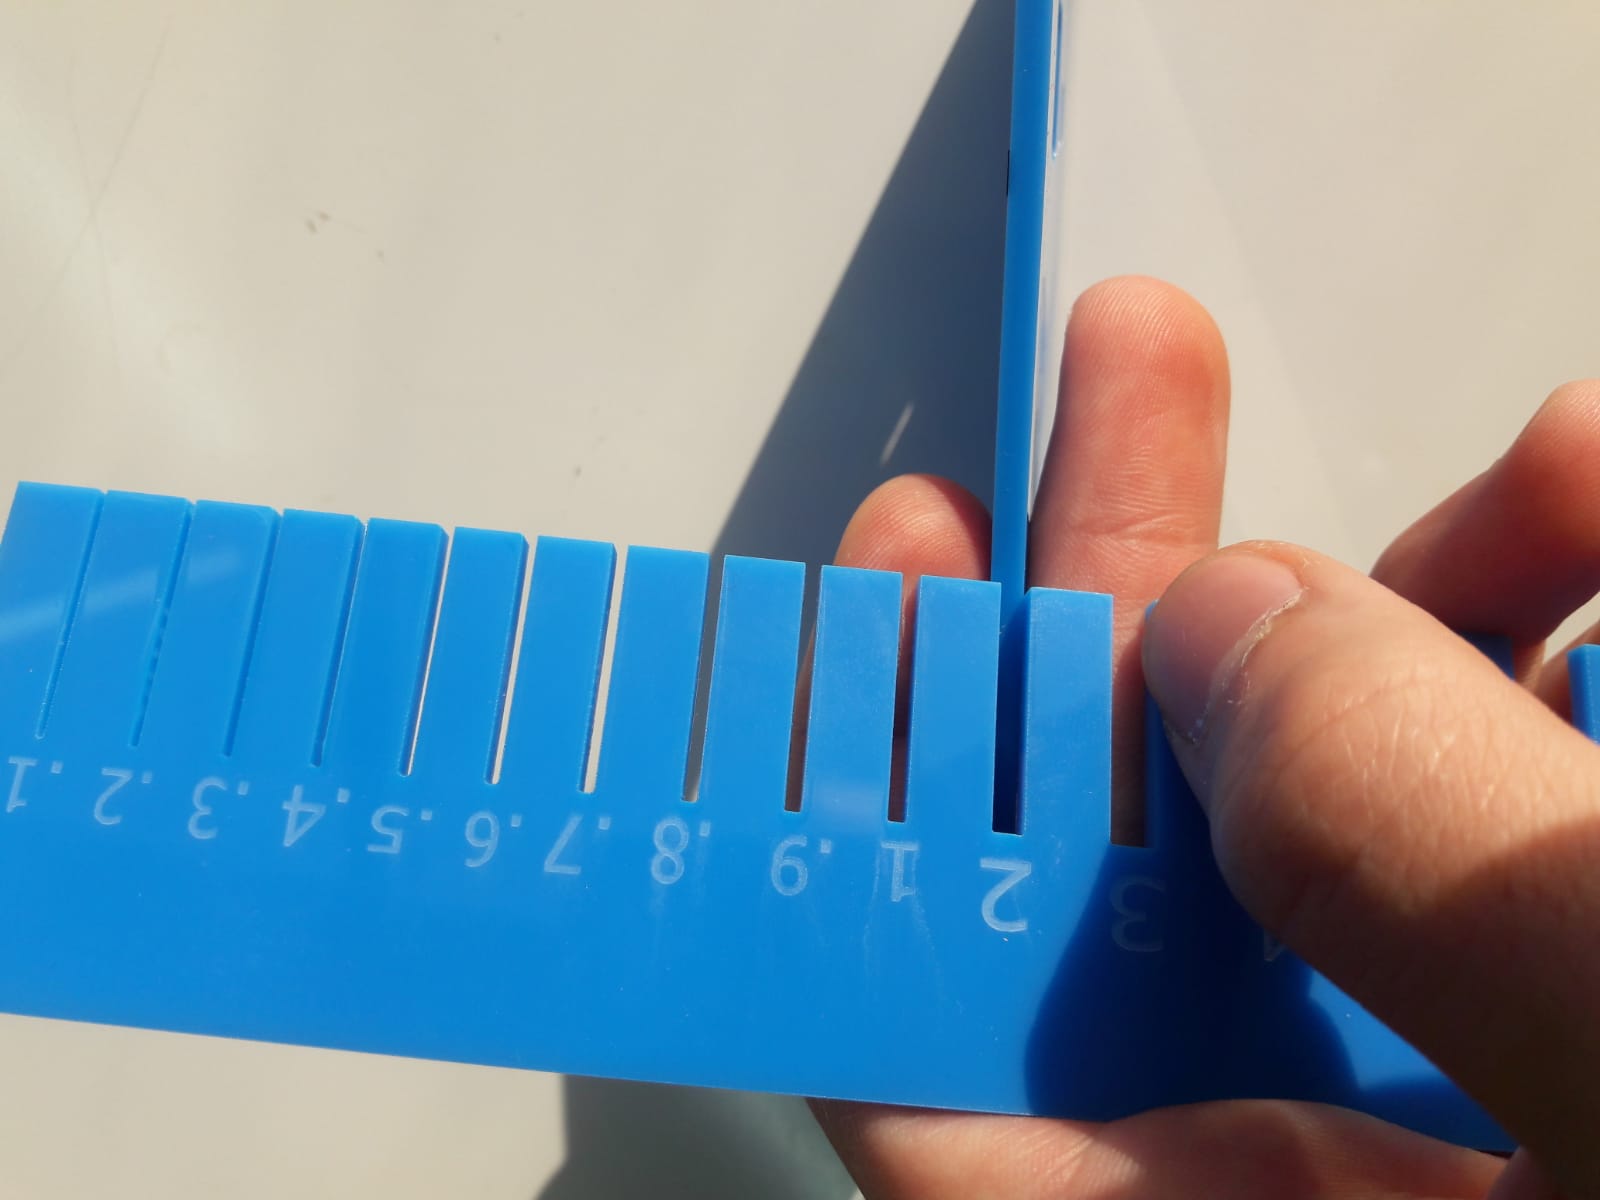
From this test we observed :
For cardboard 1.3 mm beacause the laser cutter will cut more by 0.15mm. you will need to make the hole smaller by 0.15mm. you will need to make your hole design
1.15 mm wide so that your 1.3 mm thick cardboard can fit.
For acrylic 3mm beacause the laser cutter will cut more by 0.5mm you will need to make the hole smaller by 0.5mm. you will need to make your hole design 2.5mm wide so that your 3mm thick acrylic can fit.
To download the SVG file click here
steps for the lasercutter :
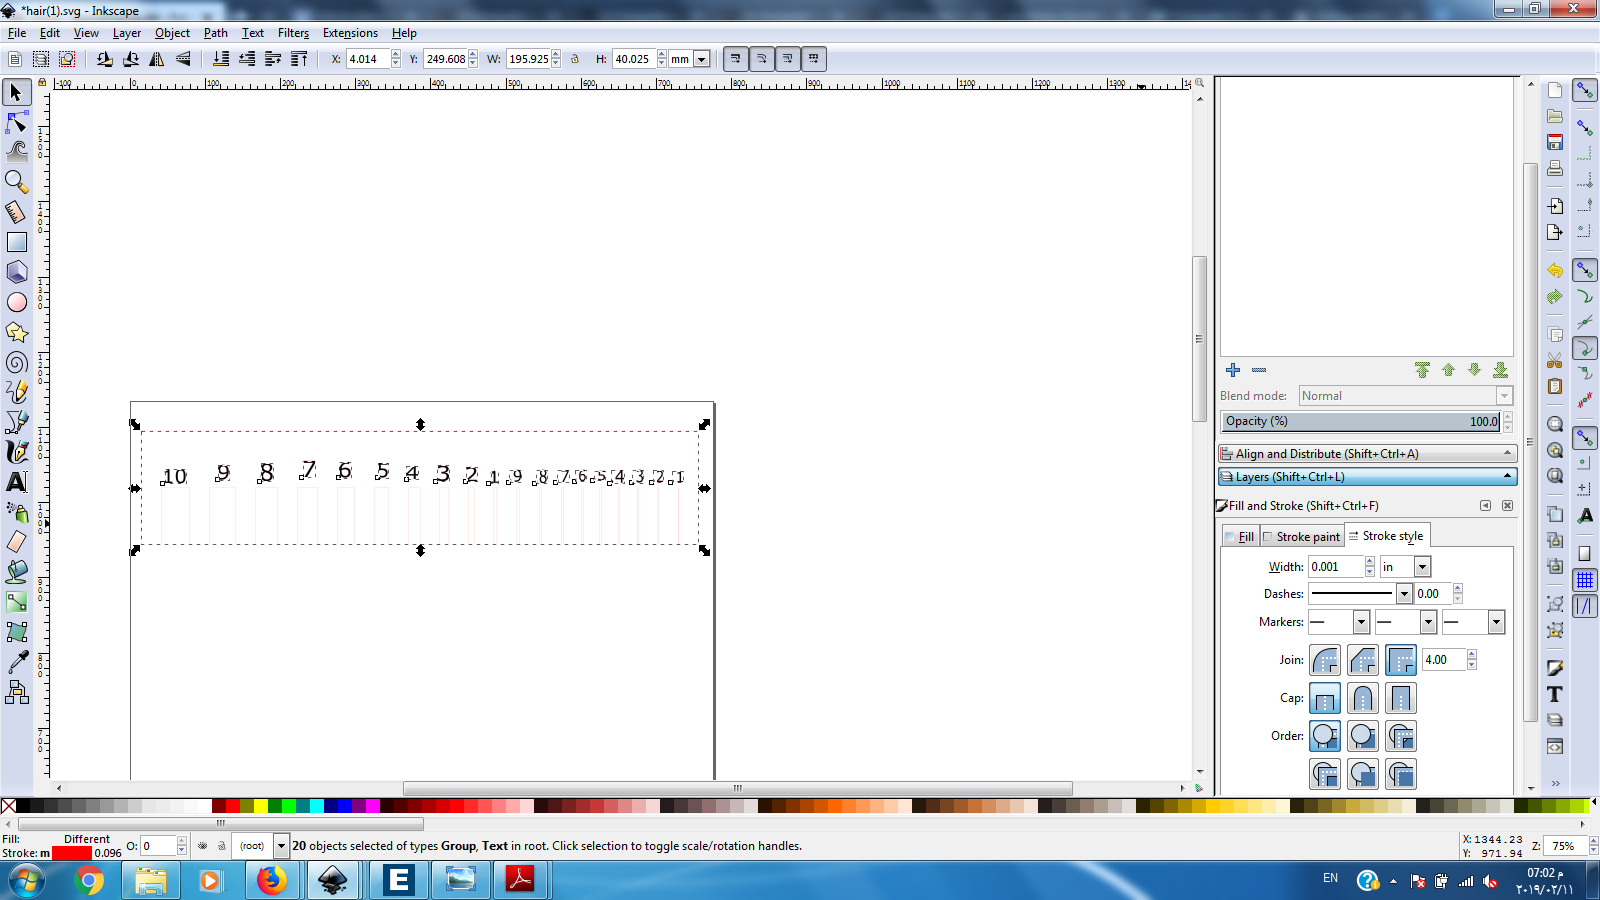
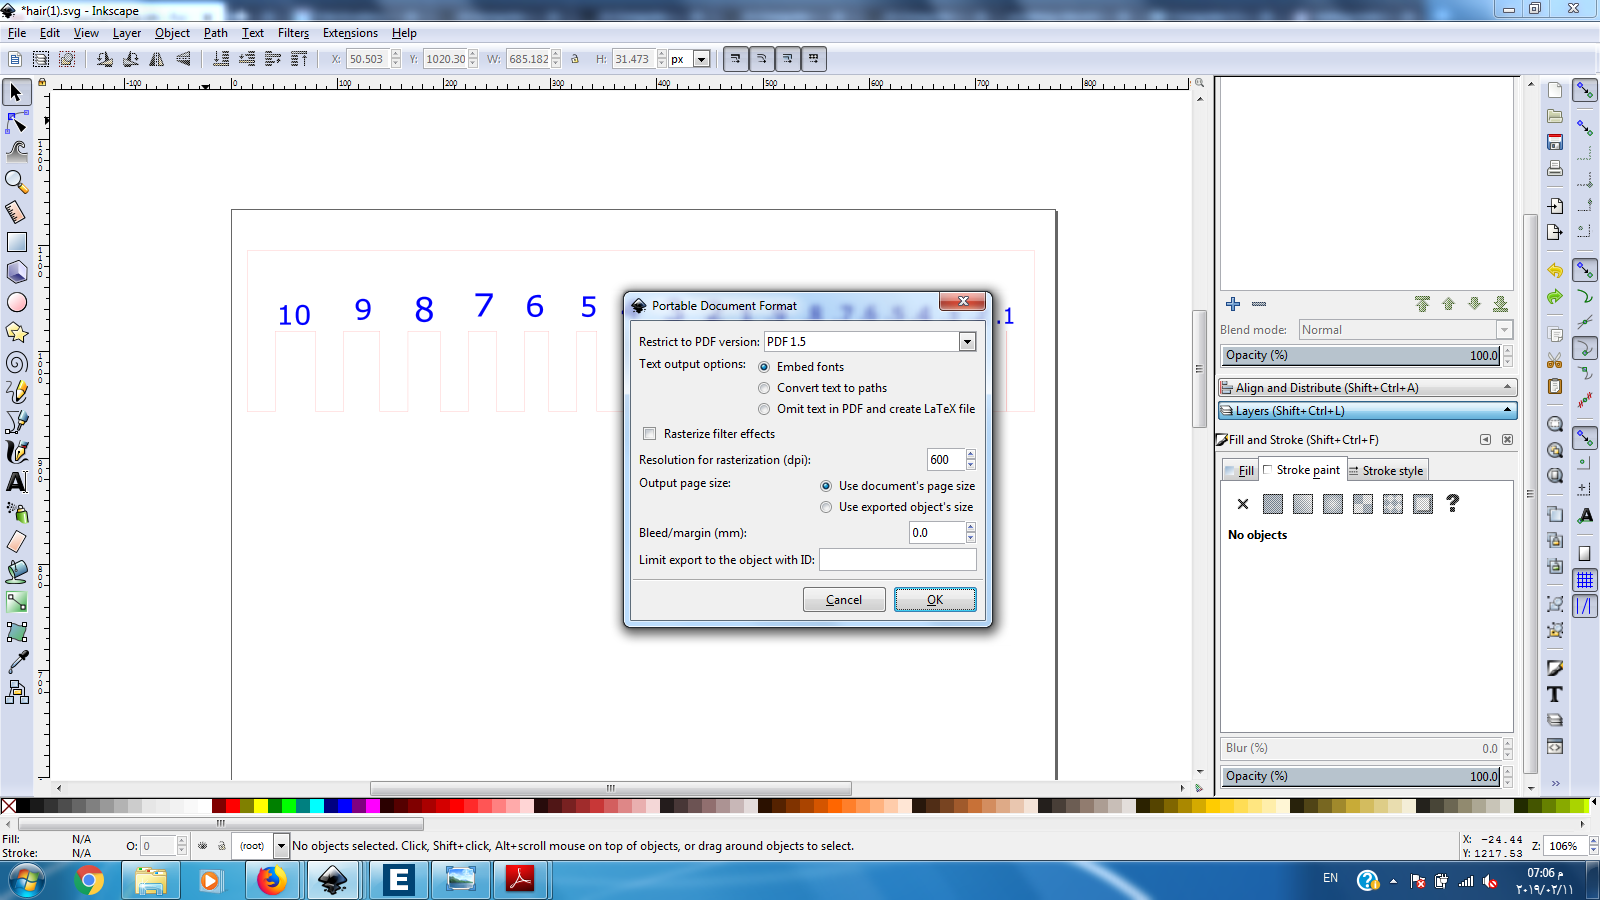
1-Open the saved .SVG document on inkscape :
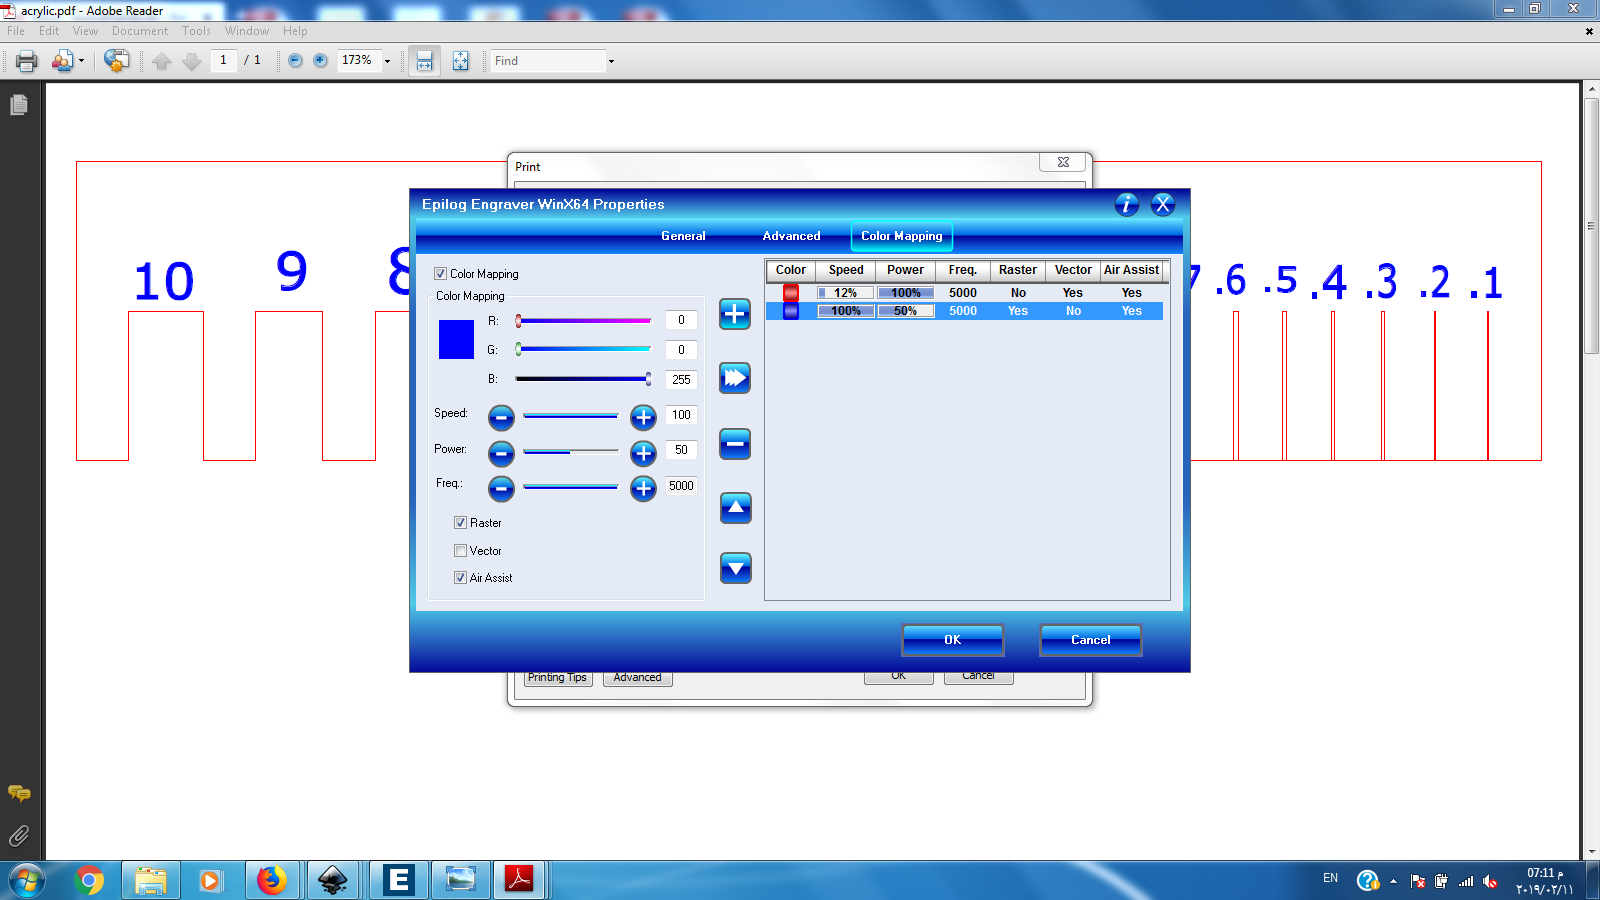
2-Select the lines to be cut ,color them for example pure red (255) we will use the color code to set the laser cutter to ” vector cutting ” ,then set them to 0.001 in thickness you will barely see them :
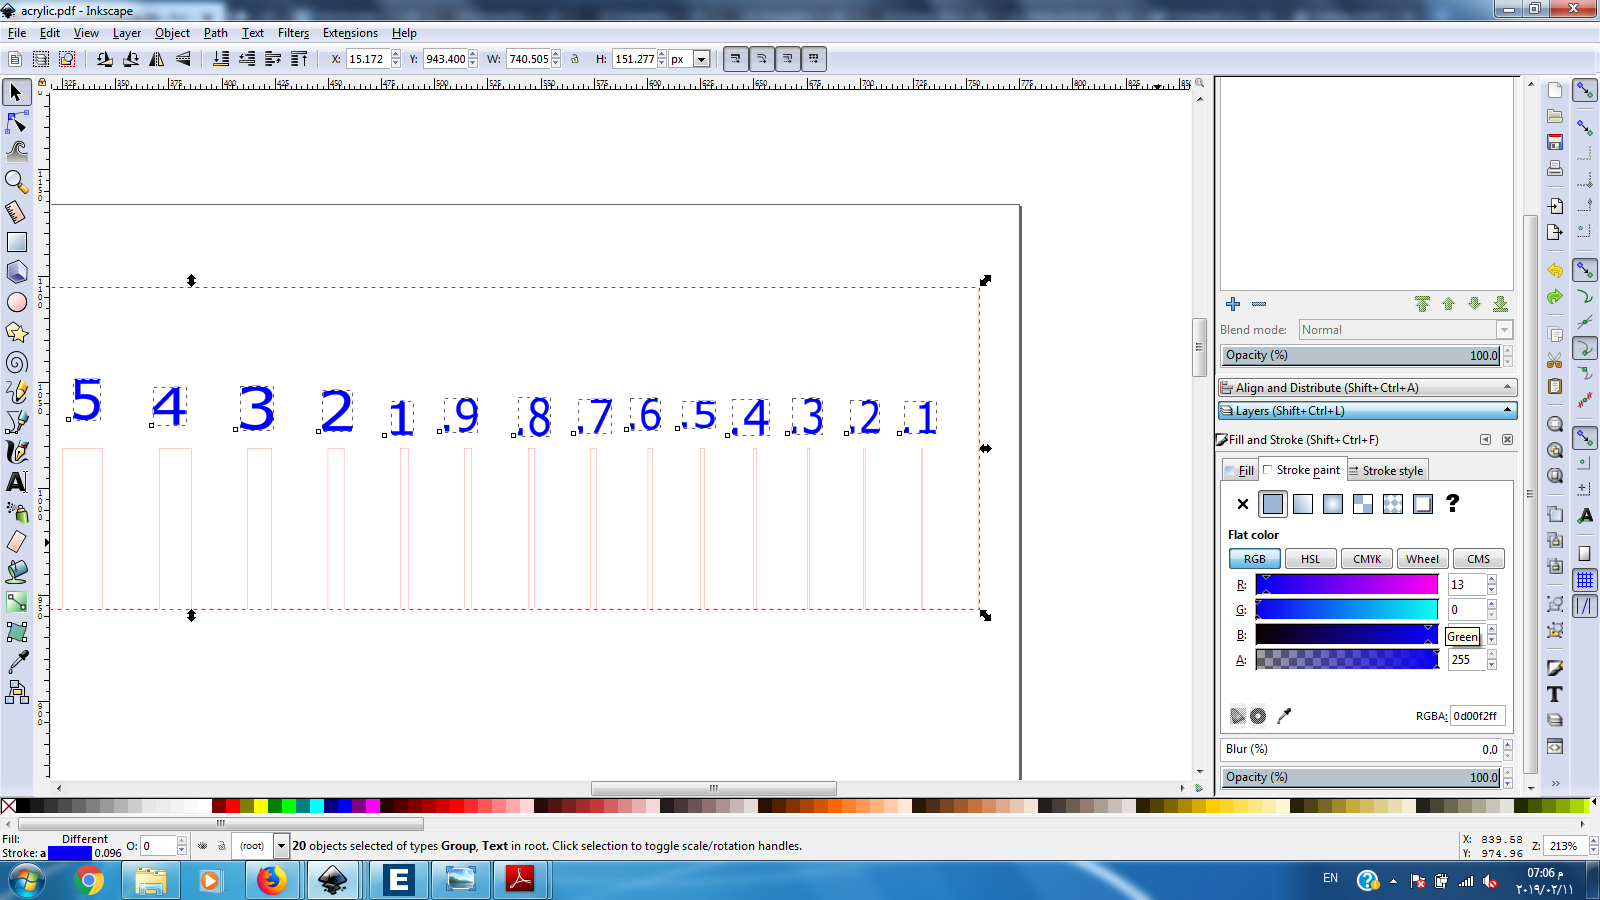
3-Select the lines to be engraved ,color them for example pure blue (255) we will use the color code to set the laser cutter to ” raster engraving ” :
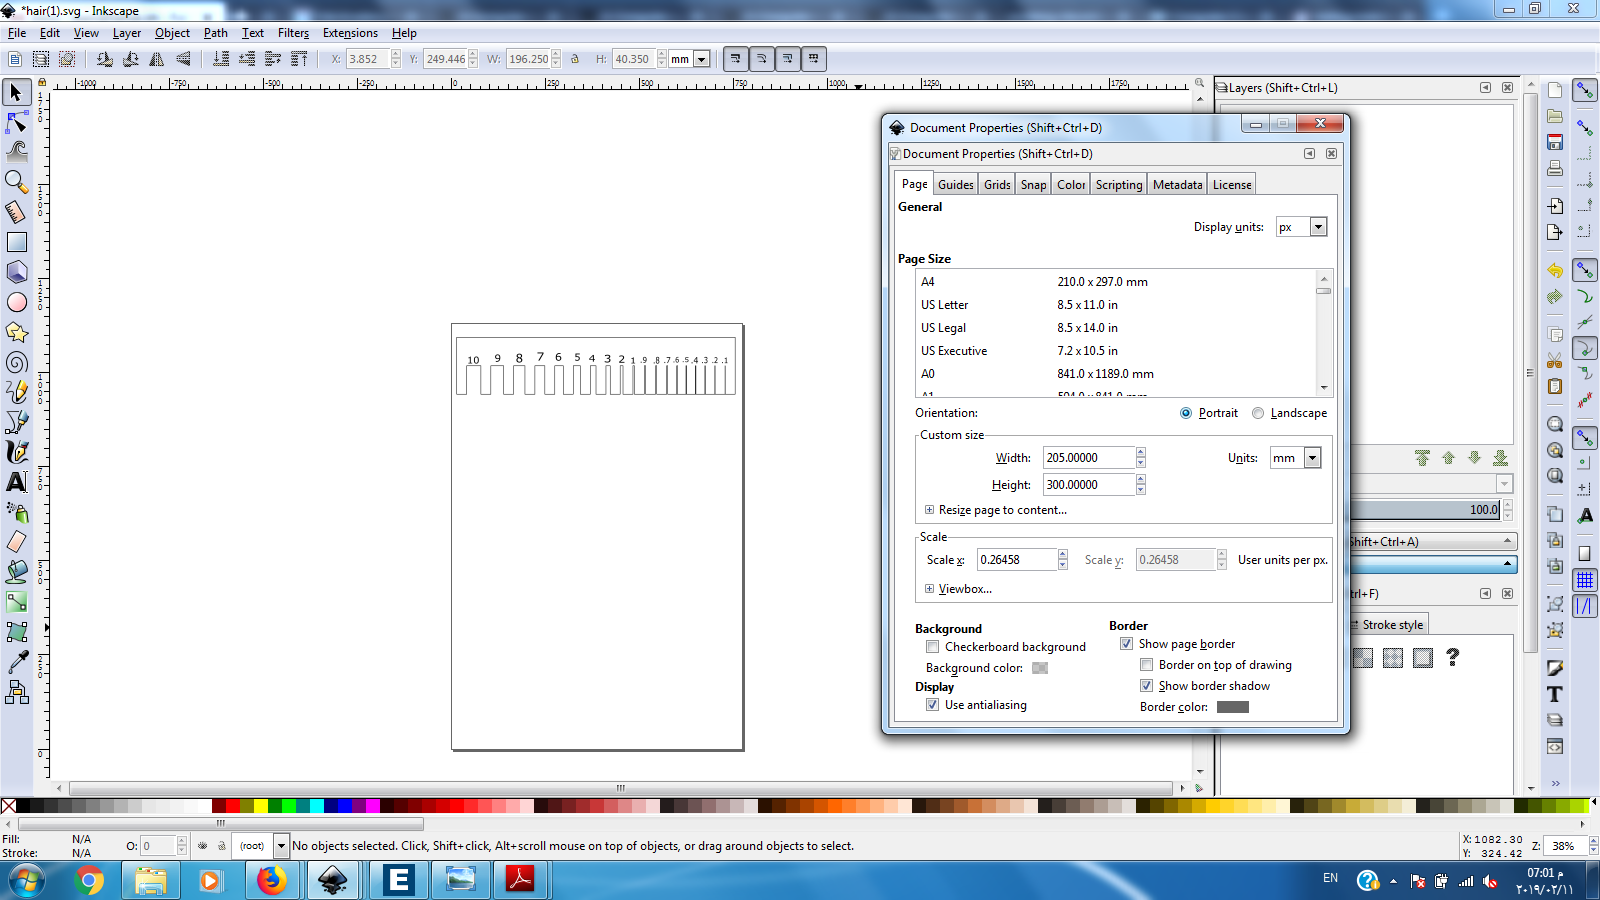
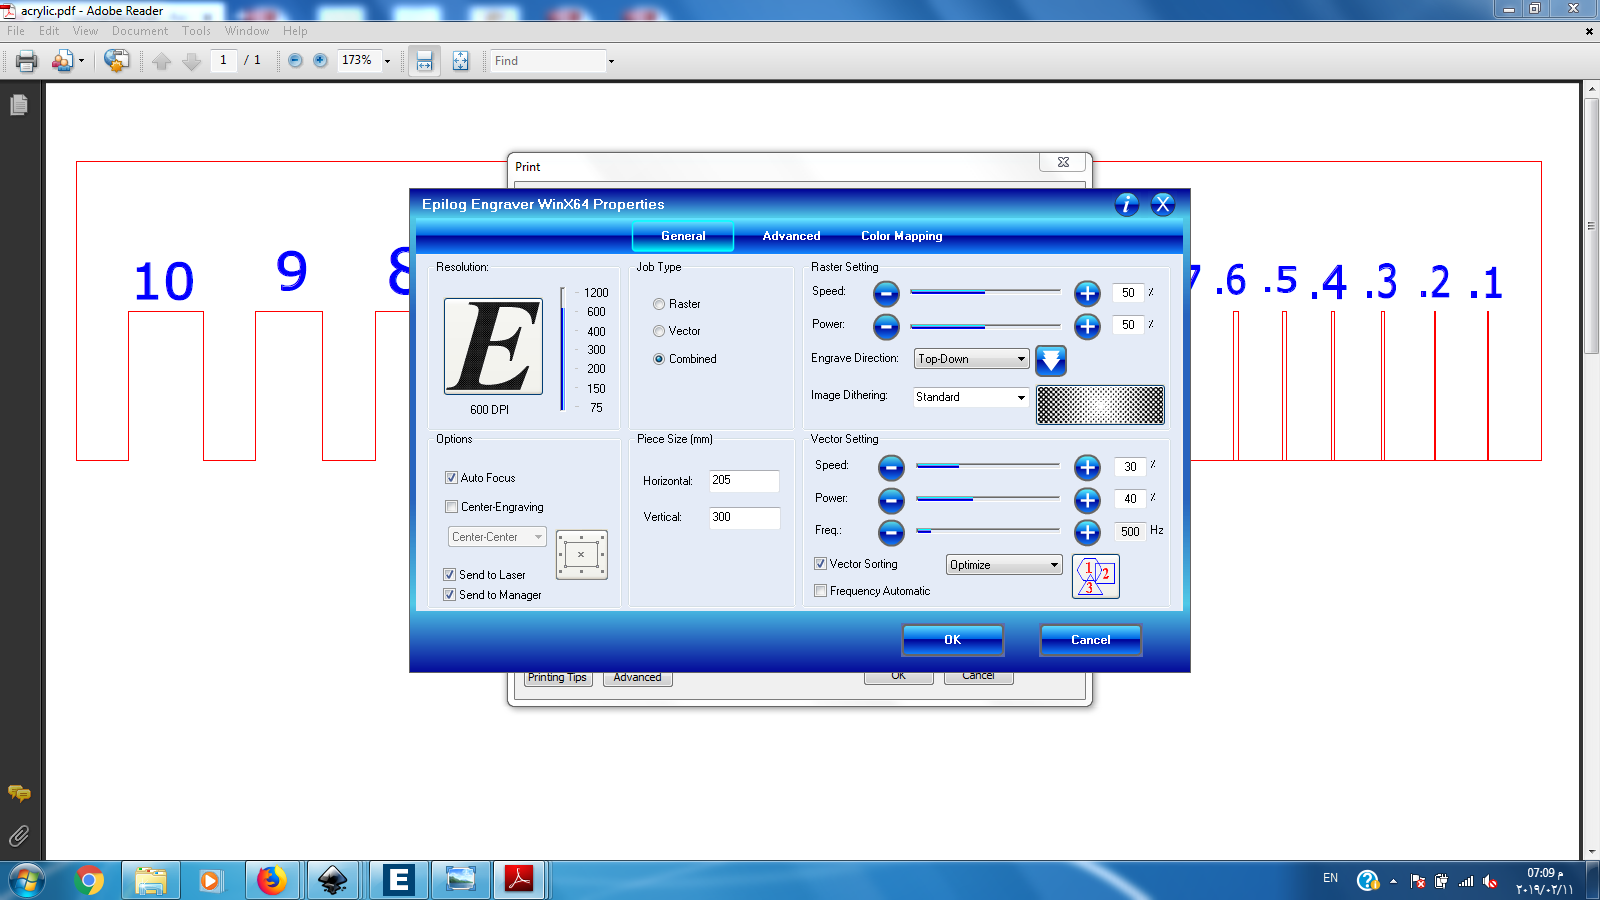
4-Set the dimensions of the sheet you are using :
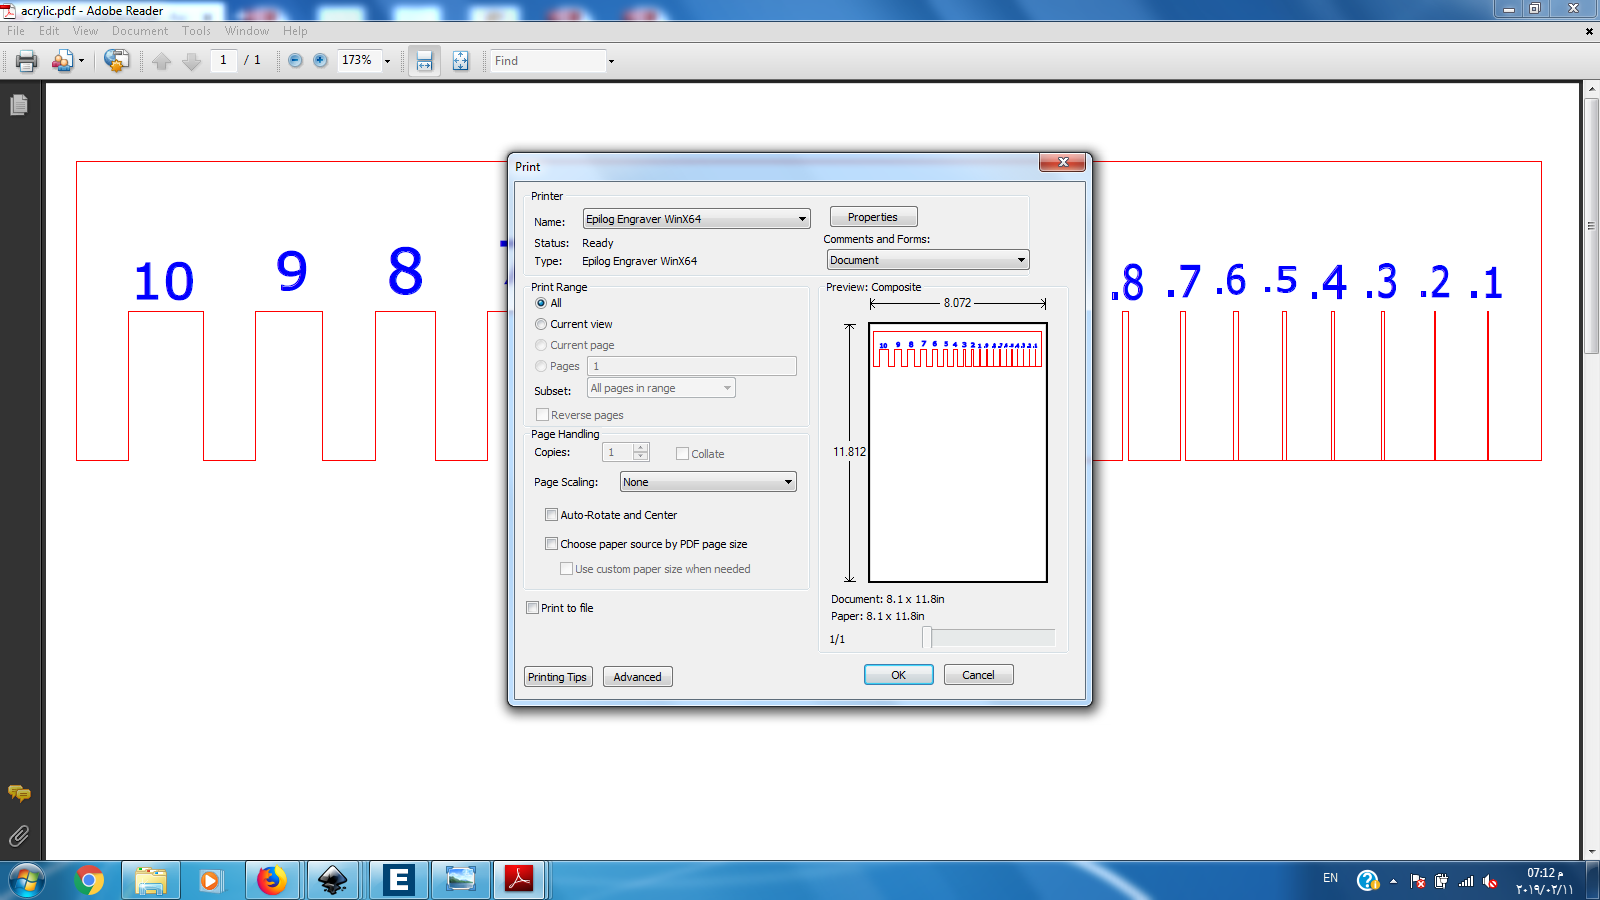
5-We will save the document as pdf file :
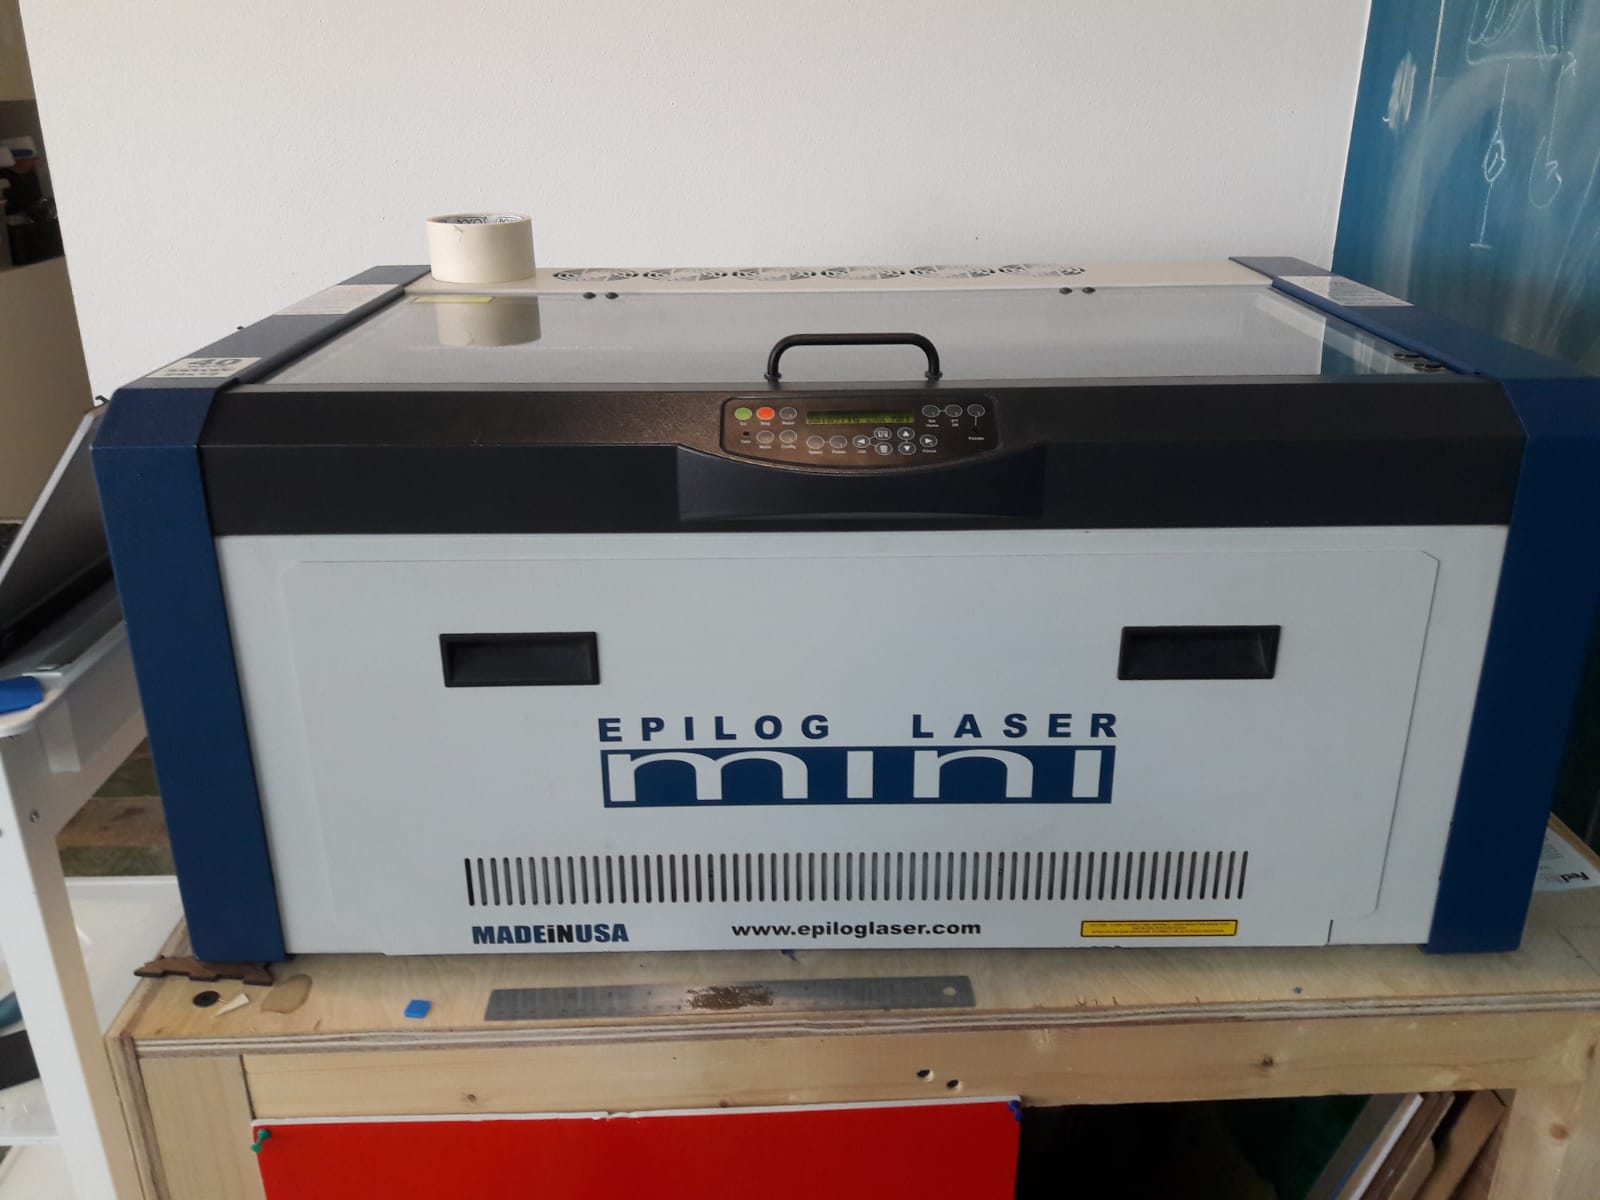
6-Open the Eplog software to see the sutable settings for your material for example the Acrylic :
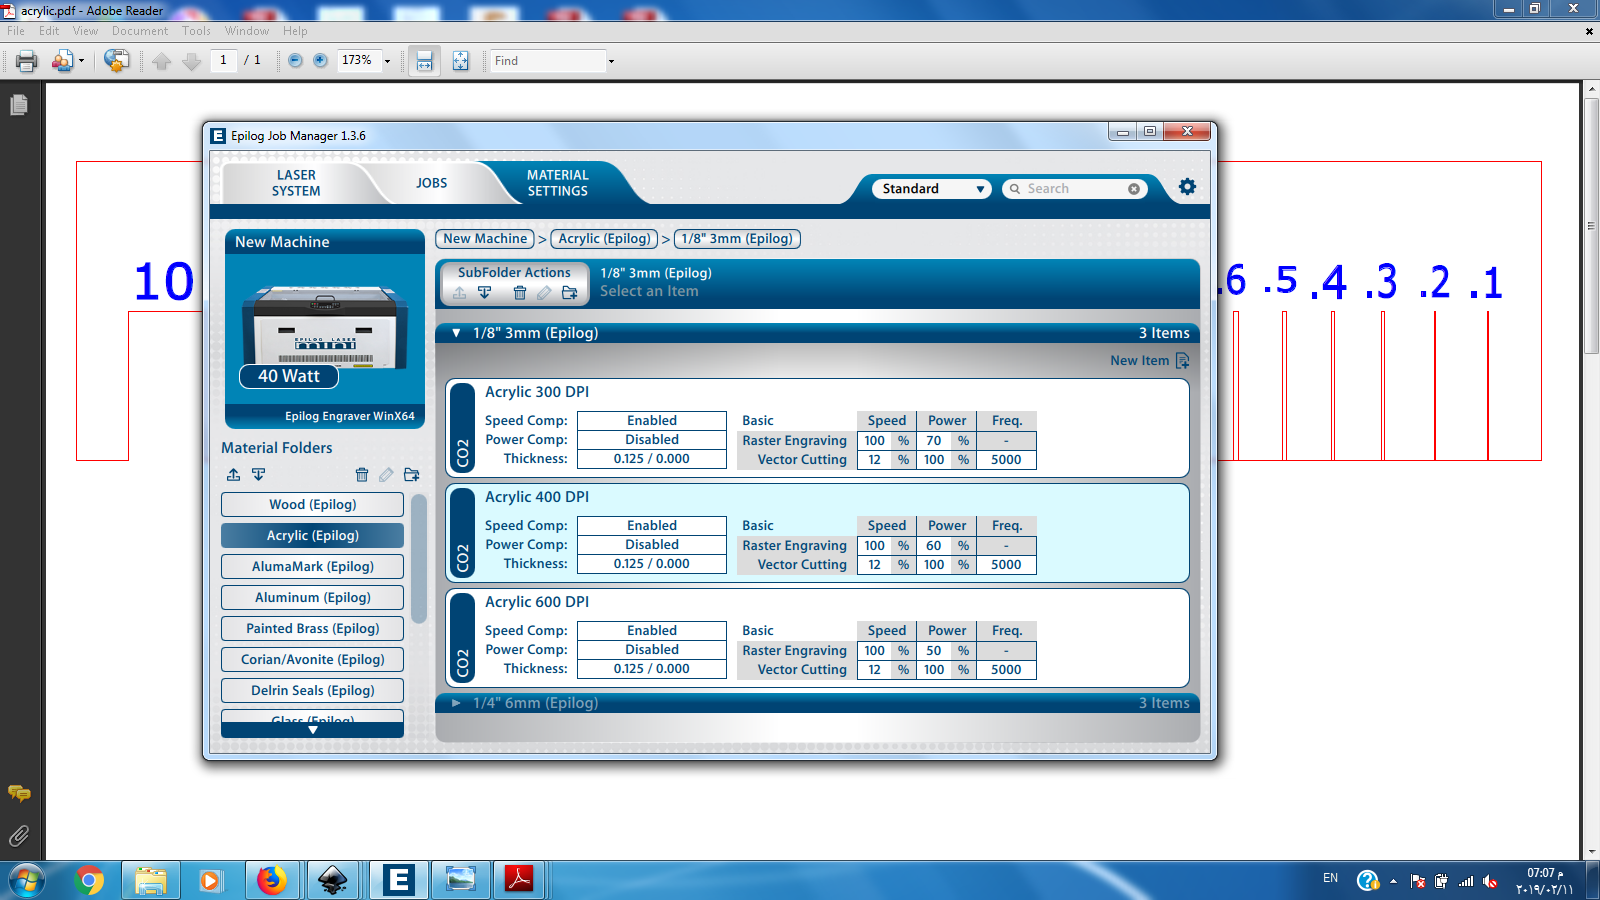
7-From the material table :
| speed | power | freq | |
|---|---|---|---|
| Raster | 100 | 50 | |
| vector | 12 | 100 | 5000 |
8-Make sure the horizontal and vertical dimensions are equal to the sheet you are using and the inkscape dimensions and make sure that the Auto focus is on:
9-Make sure the page scaling is set to none :